1. The Critical Target: The Rim Joist and Sill Plate
The “rim joist” (or band joist) is the area where your house’s wooden frame meets the concrete foundation. It is notoriously leaky because wood and concrete expand and contract at different rates, creating gaps.
How to Seal It on a Budget:
- Silicone Caulk ($8–$12 per tube): Use this for small cracks (less than 1/4 inch) between the wooden sill plate and the concrete foundation.
- Expanding Spray Foam ($6–$10 per can): For larger gaps where the joists meet the rim board, use a “gap and cracks” insulating foam.
- Rigid Foam Board ($25–$35 per sheet): Instead of expensive professional spray foam, buy a sheet of 2-inch XPS (extruded polystyrene). Cut small squares to fit into the “bays” between joists, then “seal the edges” of the squares with spray foam. This creates a high R-value barrier for a fraction of the cost.
2. Sealing Utility Penetrations
Air doesn’t just leak through cracks; it follows the path of least resistance through holes drilled for pipes, electrical wires, and vents.
The Cost-Effective Fix:
- Fire-Rated Sealants: If you are sealing around a furnace flue or chimney pipe, you must use a high-temperature fire-rated caulk (usually red in color). Standard spray foam is flammable and dangerous in these areas.
- Standard Expanding Foam: For plumbing stacks, gas lines, and electrical conduits, a quick burst of expanding foam will create an airtight seal.
- Foam Gaskets: If your basement is finished, install inexpensive foam gaskets behind electrical outlets and switch plates on exterior walls.
3. Basement Window “Quick Fixes”
Basement windows are often old, single-pane, and poorly fitted. Replacing them is expensive, but sealing them is cheap.
Budget Solutions:
- Window Insulation Film Kits ($15–$25): These plastic sheets are applied with double-sided tape and shrunk tight with a hairdryer. They create a dead-air space that acts as an extra pane of glass.
- Rope Caulk ($5–$8): This is a putty-like caulk that comes in a roll. It’s perfect for basement windows because you can press it into gaps with your fingers and easily peel it off in the spring when you want to open the windows again.
- Weatherstripping: If the window is operable, apply adhesive-backed foam or rubber weatherstripping to the frame where the sash closes.
4. Addressing the Basement Door
If you have a “walk-out” basement or a bulkhead door (cellar door), a significant amount of cold air enters here.
The Fix:
- Door Sweeps ($10–$20): Install a heavy-duty rubber or brush sweep at the bottom of the door to block the gap.
- Draft Stoppers: A “door snake” or even a rolled-up heavy towel placed at the base of the door is a zero-cost way to stop immediate drafts.
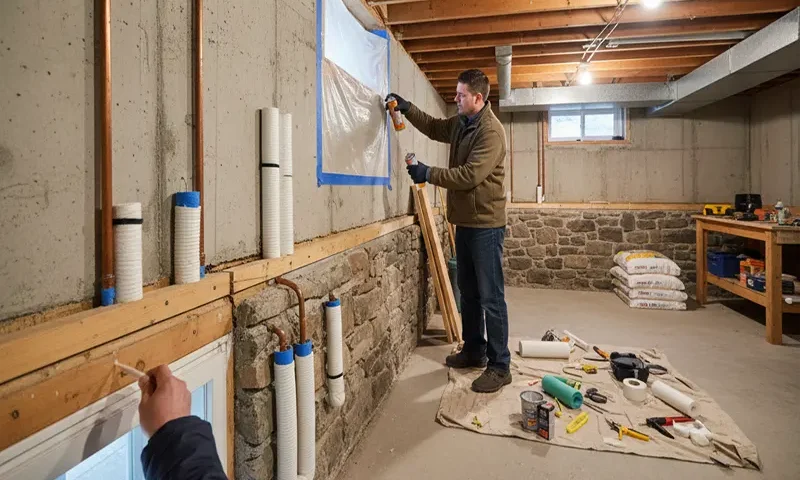
5. Identifying the Leaks: The “Candle Test”
Before you spend money, you need to know where the air is moving. You don’t need a $500 thermal camera for this.
The DIY Method: On a cold, windy day, light an incense stick or a candle and move it slowly along the rim joists, window frames, and pipe penetrations. If the smoke or flame flickers or blows sideways, you’ve found a leak. Mark these spots with a piece of painter’s tape so you can return to seal them later.
Summary of Costs (Estimated)
| Material | Purpose | Estimated Cost |
| Silicone Caulk | Small cracks/seams | $10 |
| Expanding Foam | Large gaps/utility holes | $15 (2 cans) |
| Rigid Foam Board | Rim joist insulation | $35 |
| Window Film Kit | Window drafts | $20 |
| Door Sweep | Exterior door base | $15 |
| TOTAL | $95 |
By spending a Saturday morning in your basement with a caulk gun and a can of foam, you can significantly improve your home’s comfort and lower your winter utility bills. These small “micro-repairs” add up to a much more efficient thermal envelope.
